
The Discovery
I was showing my shawls to my aunt one day, she lives far (in Estonian standards) and therefore I had many shawls to show her. I lay them all over the room, as I showed them to her for better viewing. When she left and I started to collect the shawls I discovered to my horror that one of the lace shawls had a hole in it. It probably got caught on something when we were looking at it, we were careful but these things do happen. At first I was very upset about it but after some time passed I thought that this is the perfect opportunity to try to repair a lace shawl.
Research
I tried to find some instructions online for “repairing lace shawl” but there were not many instructions. There were some books mentioned that might have instructions in them but as I had no intention of buying them (and my local library didn’t have the books) they were of little use. When I gathered up all that was said about repairing lace shawls I came up with a list of necessary things:
1. One lace shawl that needs to be repaired
2. The pattern of that lace shawl
3. A well lit working area
4. Needles one or two sizes smaller than the ones used for knitting the shawl
5. Crochet hook and safety pins
6. A needle
7. Time and Patience x 7 (at least)
8. Chocolate
The Process
To better manage the project (and to make it less intimidating) I divided all that needed to be done into seven easy steps:
 1. Find all the loose stitches and fix them so that they don’t unravel further. You can use safety pins or needles.
2. Look at the strands of yarn that are unraveled and see if any of them are broken. If some of them are then hide the broken ends into nearby knitting (make sure that they don’t unravel).
3. Add as many new strands of yarn on the knitting as you need to replace the broken ones. Make sure they are long enough so that you can hide the ends afterwards.
4. Identify the place where the hole is on the pattern and knit it again using the crochet hook to help if necessary. If you have a large hole and lots of strands then be very careful about using the strands in correct order.
5. Take one more strand of yarn and using it Craft the stitches together (also known as as Kitchener stitch).
6. Hide all the ends. Edit – try to spread them out over the knitting so that the repaired place is less visible.
7. Block
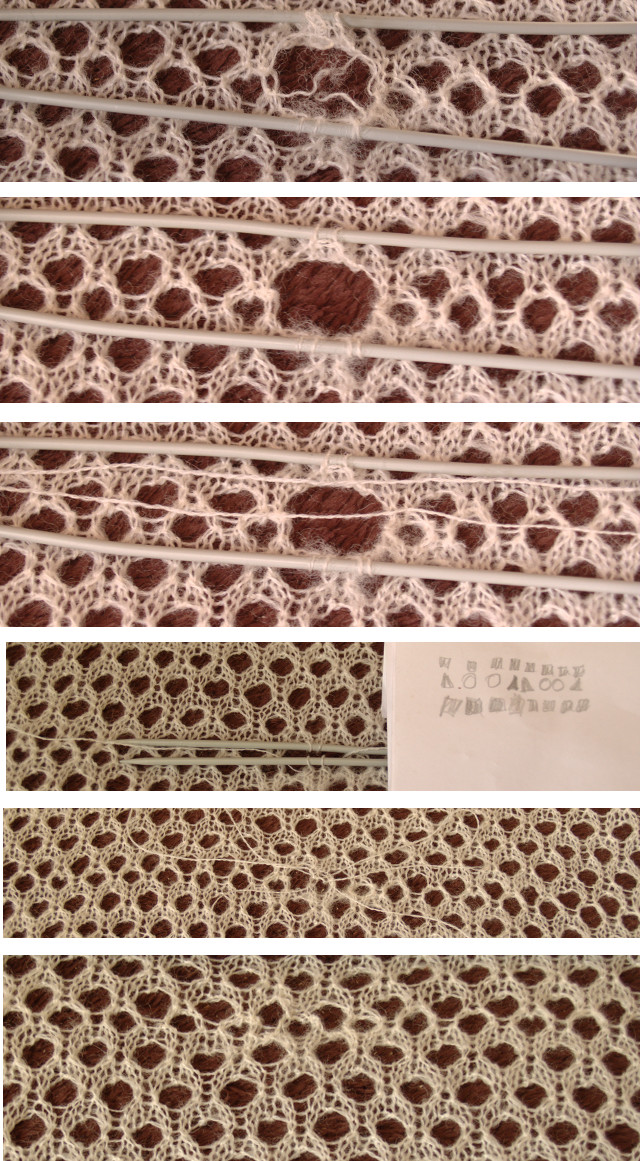
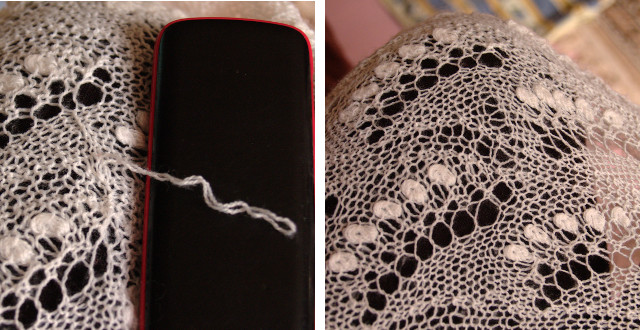
Repairing Lace Shawl
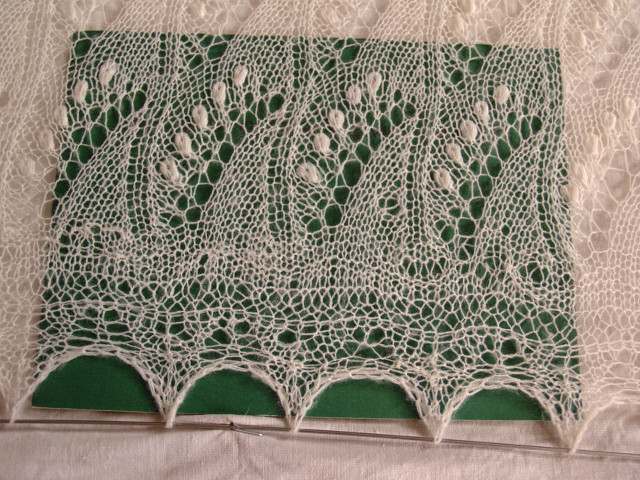
When I had written this action plan down, I got to work. I caught the stitches, there were six all, I found that there were two strands of yarn broken, substituted them and knitted the place again using the pattern. Then I reattached the two pieces and hid the ends. I was not very satisfied with the result of the hiding and so edited my plan for future reference. And finally I blocked the shawl and I was pretty happy about my first repair. Soon I was given a bigger challenge in shawl repairing, scroll past the picture showing various steps in my first lace shawl repair to see it.
Taking on a huge project
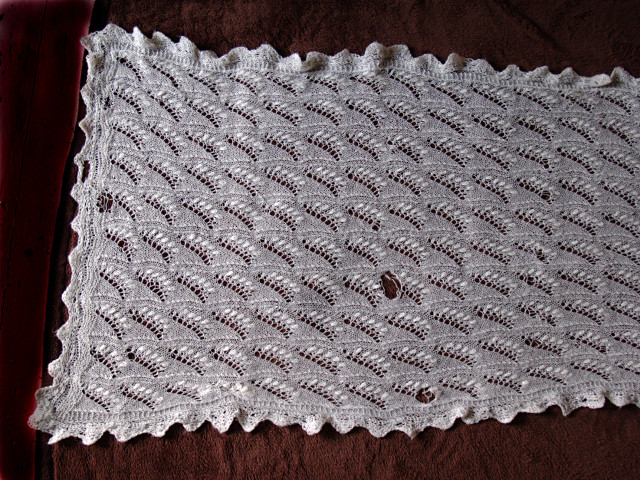
One day a friend of mine who knew I’m knitting shawls told me about a very special shawl she has. It was knitted by someone very dear to her and she had had it for over twenty years. She had used it as a regular shawl in winter (for around 5-6 months per year) and she was sad that she couldn’t any more because it was so damaged. She asked if I would mind looking at it and I said yes. When I first saw the shawl I almost regretted saying yes, but then I calmed down and decided to do it one hole at a time.
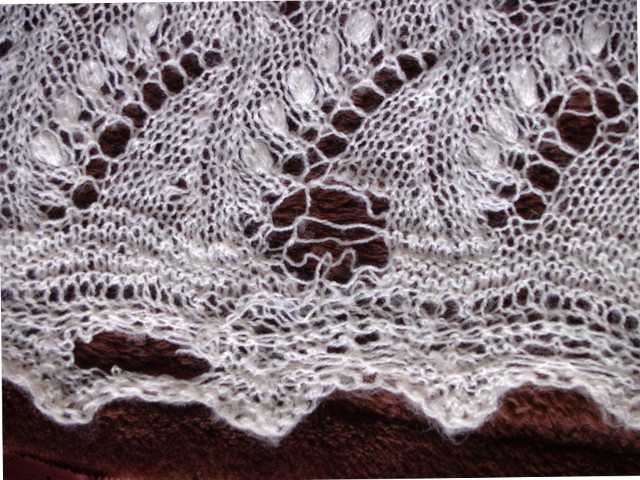
This is the shawl, it had over ten holes in it. What saved it from totally unraveling was the fact that the shawl had been washed like a regular shawl and had therefore felted a bit. This is probably what made it even possible to save the shawl and I got to work a more freely when I didn’t have to worry about it unraveling even more.
There were about 20 of these kinds of injuries where the strand of yarn had not been broken but it had been pulled out, compromising the surrounding lace pattern. I used a big tapestry needle to ease the strand back into it’s place.
I took the holes on one by one, just focusing on my seven easy steps and eating a lot of chocolate.
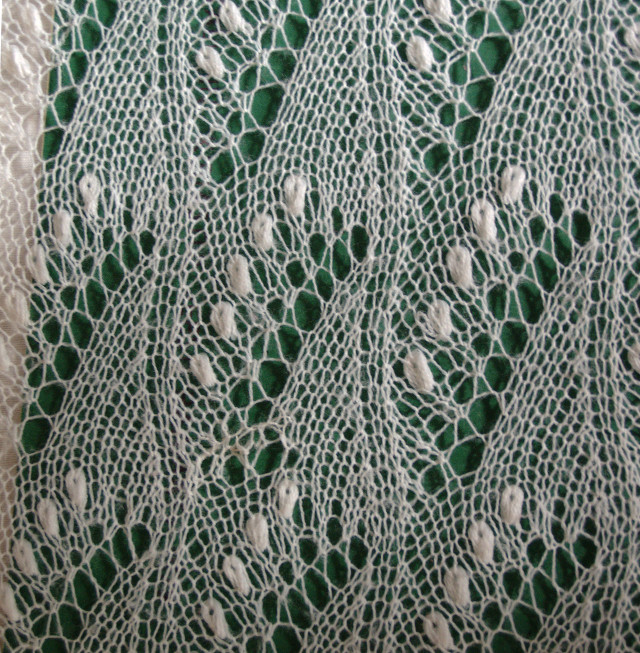
The repaired place after blocking, if you know what to look for, you can still immediately see the place where it has been repaired. But when someone is wearing it it will be hard to notice it (you would definitely notice the hole)
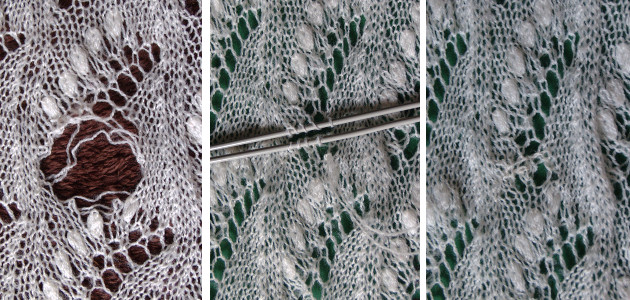
Another set of holes…
…and the same place after repairing and blocking
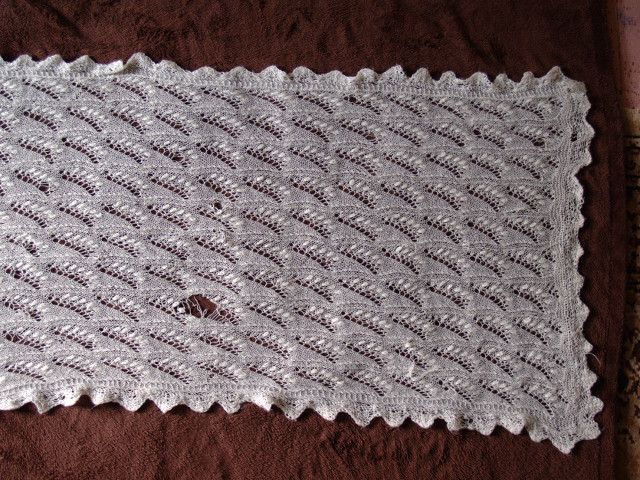
No more holes…I am glad that my friend loved the outcome and is able to wear this shawl that means so much to her.

If you have bought a shawl/scarf/something else from me then know that you can always turn to me if something has happened to it and it needs repair. I will be repairing lace shawl problems that take up to an hour for free!